Purpose: The use of Teams/Sharepoint/OneDrive file share allows for shared editing of a document, or set of documents, similar to what is permitted in Google Docs. This way, everyone can see the comments or changes being proposed. Also, access rights can be further limited to “read only”, if appropriate.
Steps:
1 – Create a Sharepoint Folder from Teams:
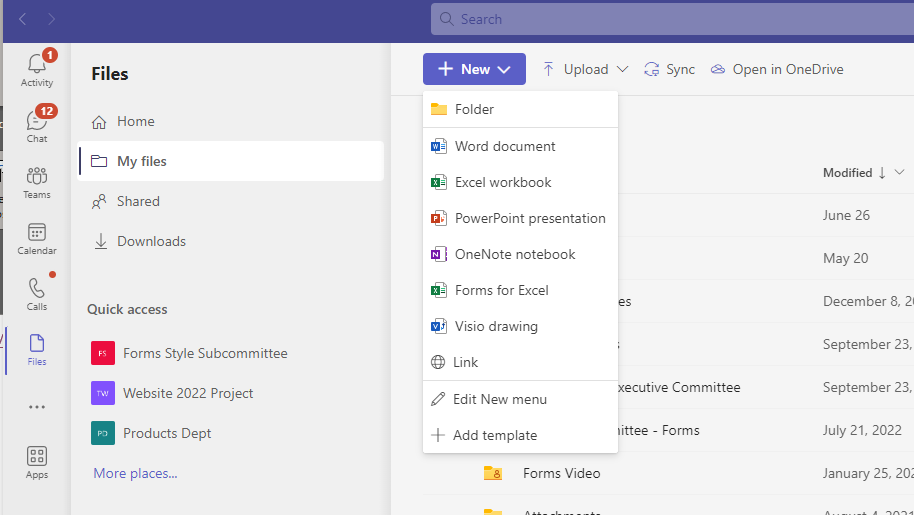
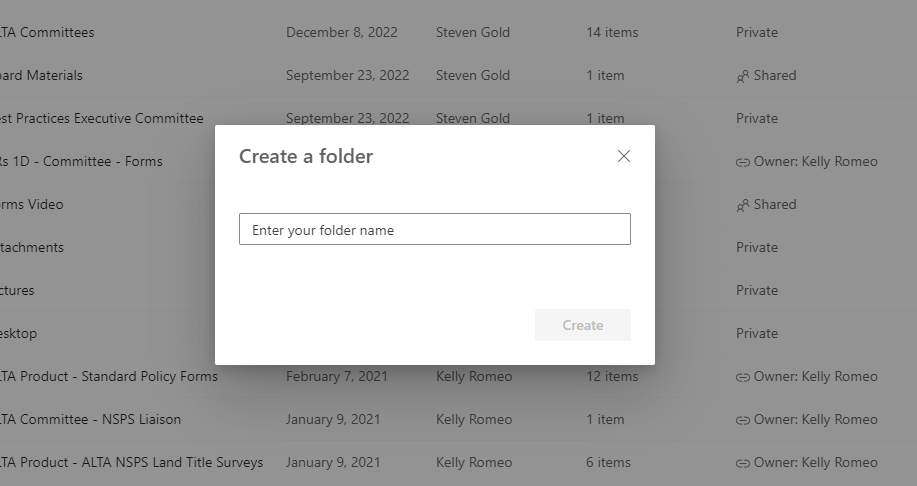
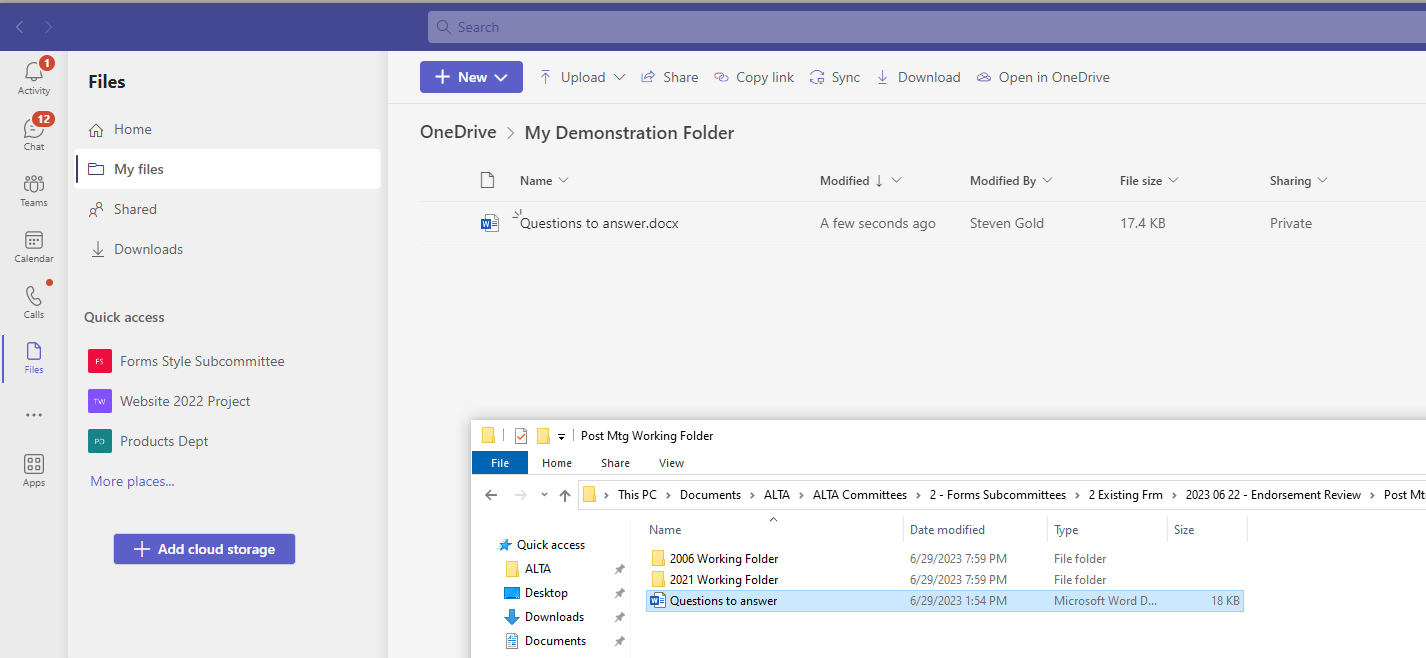
This can be done right in Teams. Click on “Files” - -> “My Files” --> “New” --> “Folder” - - > Enter Folder Name

2 – Upload Files
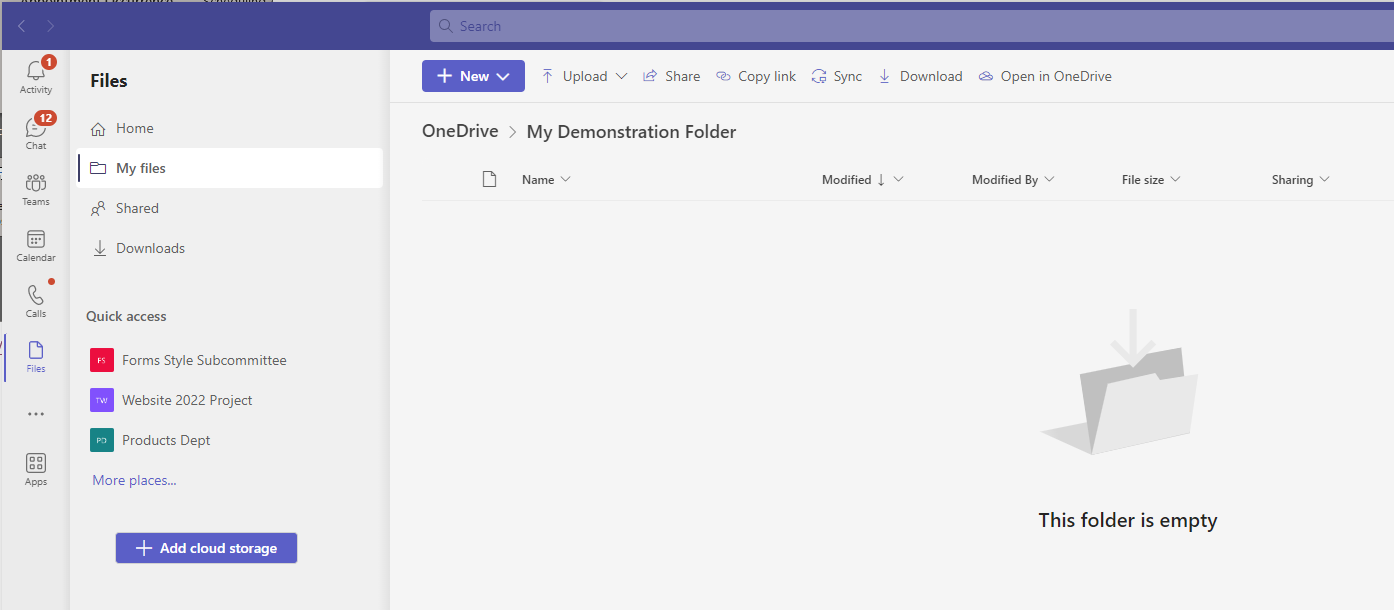
Double click on the folder, then drop files into the folder.
3 – Share the File or Folder
Select the three dots, and then choose to “Share”, or you may take other actions listed:
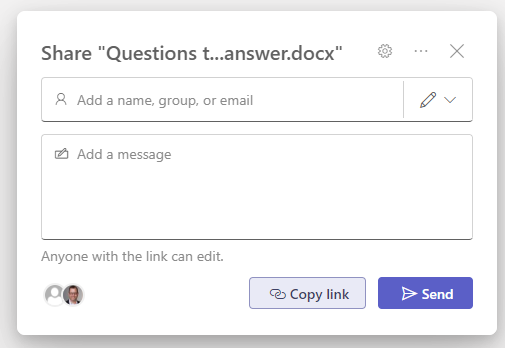
On the resulting modal box, you can choose who to share the document with by typing in their email address, or alternatively, providing an unsecured link:
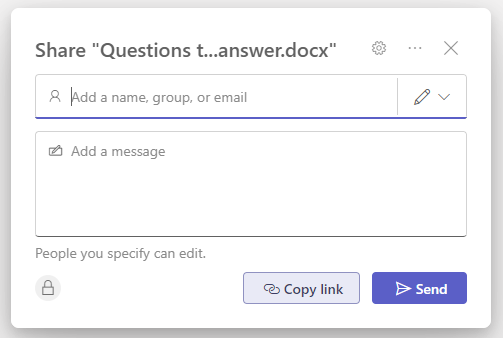
You need to determine the scope of sharing though; click on the gear icon above, and the resulting page provides the options. Since we want to share with external parties to ALTA, we select the fourth choice:
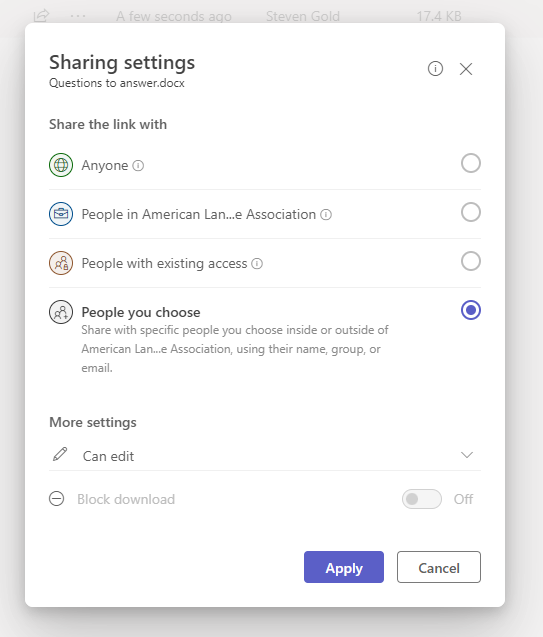
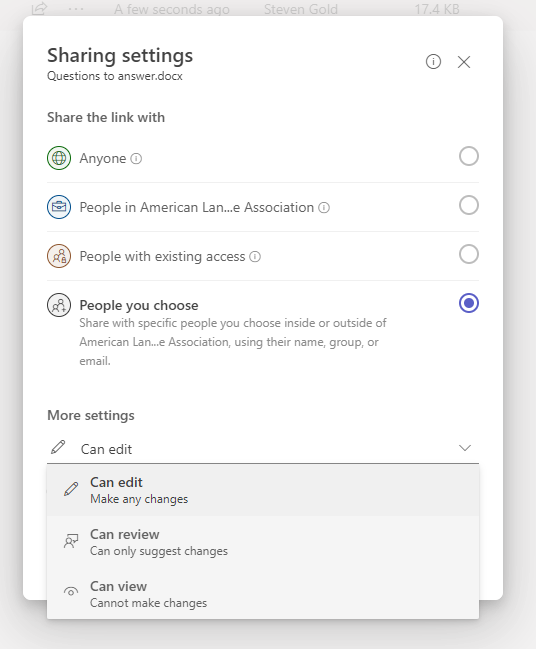
There is also the option to limit what can be done – people can make changes, be limited to suggesting changes, or “read only”
Click “Apply”, and then it brings you back to the screen where you can add person(s) to have access. You can then add the people to have access:
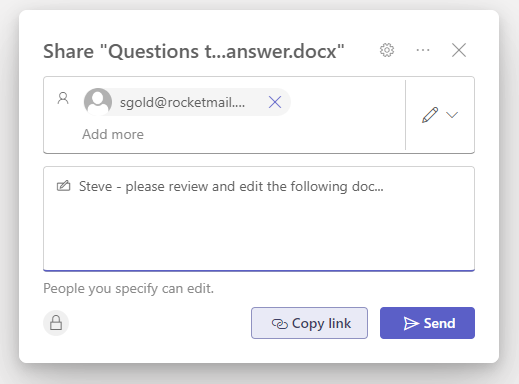
Click “Send” and it will be sent to the recipient:
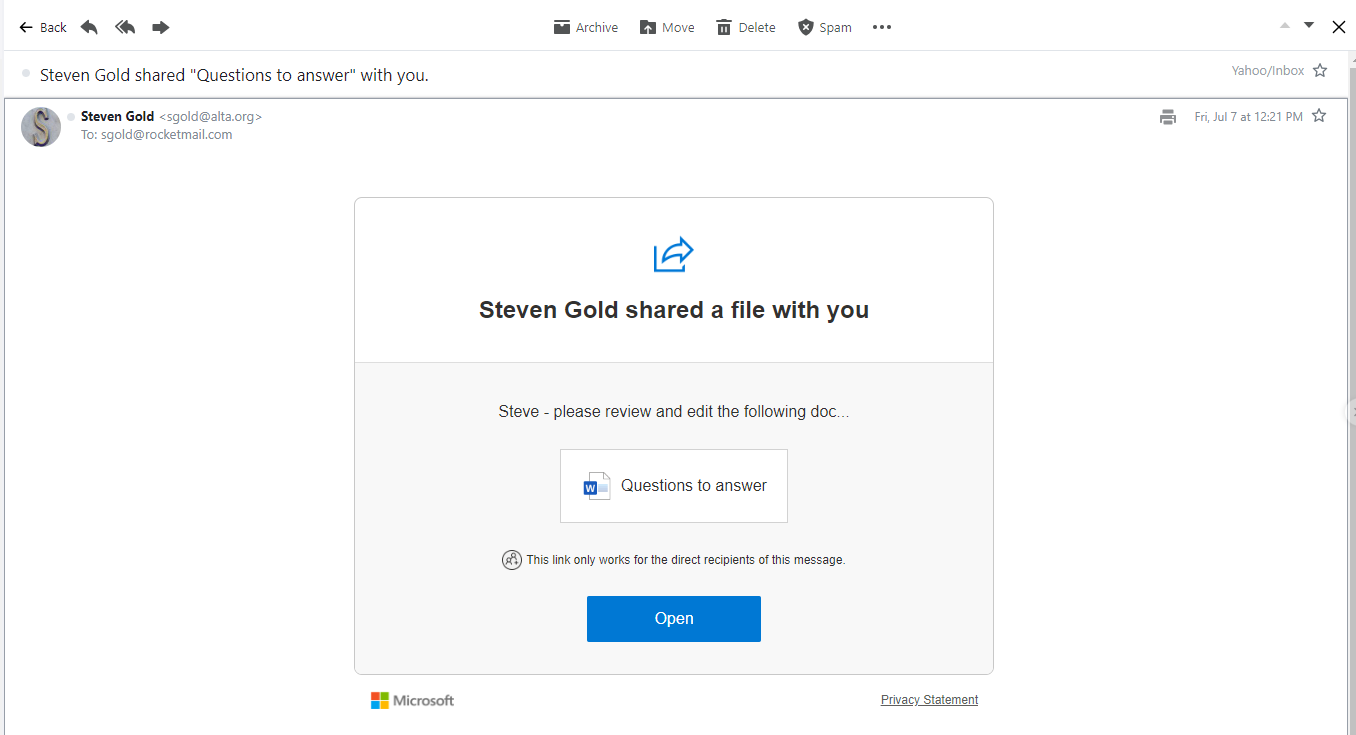
The first time they click to open the file, they will be asked to collect a Verification Code. Generally this work well, but some email systems filter or delay the provision of this code.
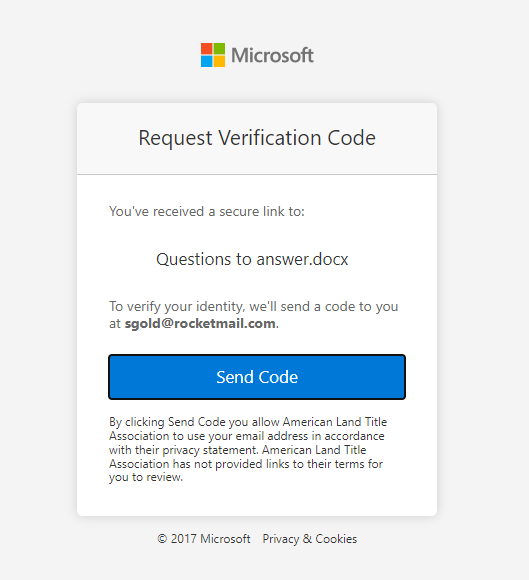
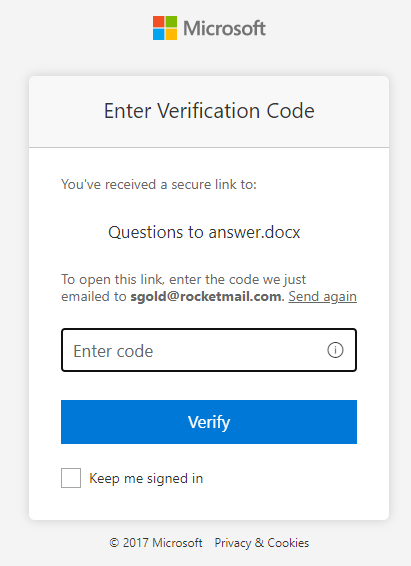
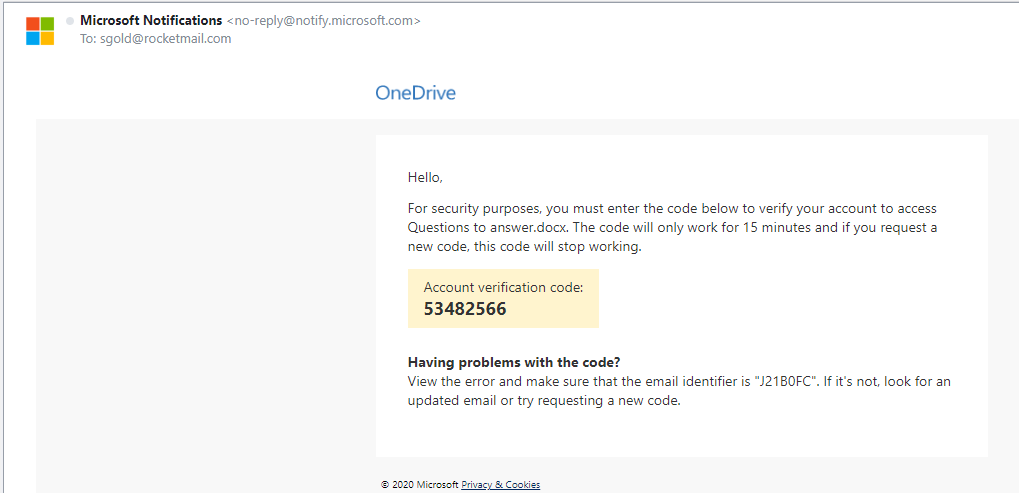
As some people may not receive the email, or the verification step on their side may prove problematic. You may also “Copy Link” (next to the prior “Send” button) to provide them with direct access. Note that this is less secure and is open to anyone with the link. Sending this link, then the recipient dropping it into the URL Bar of the browser allows for editing:
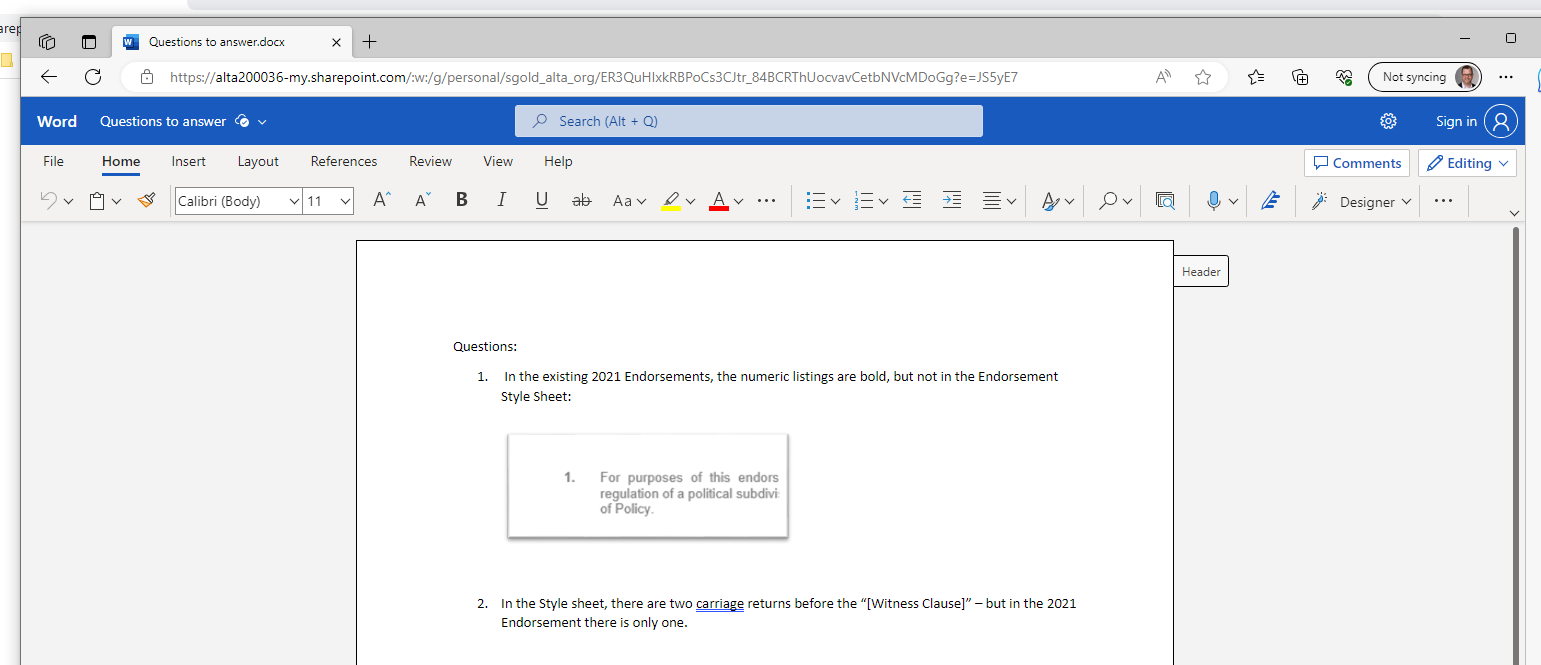
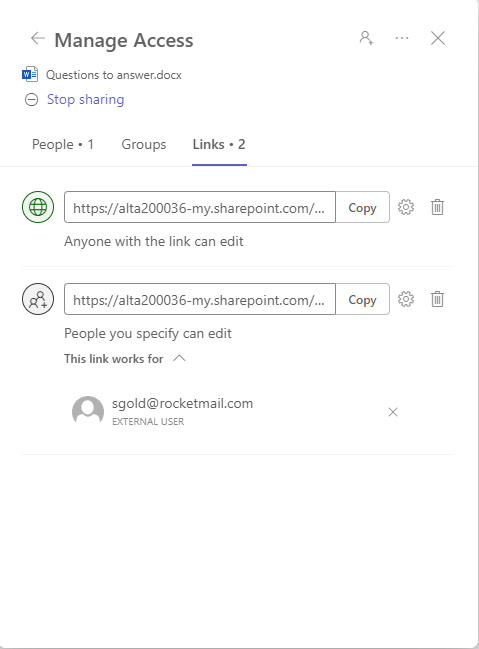
You could add additional people, with the same or different access (“Add a name…”), or you can then manage existing access from clicking on the faces that appear at the bottom left:
By clicking on the faces at the bottom left, you can change access and/or remove specific people with access. For example, you could remove the “anyone with a link can edit” link, or remove specific people who have access to the link:
4 – Conclusion
Those with the provided link can access the document and change to the extent that you have established. Everyone will be able to see the changes or suggestions that have been made.