How to Share Your Whiteboard to a Person
MS Whiteboard does allow you to share to collaborate with others in the same Whiteboard project.
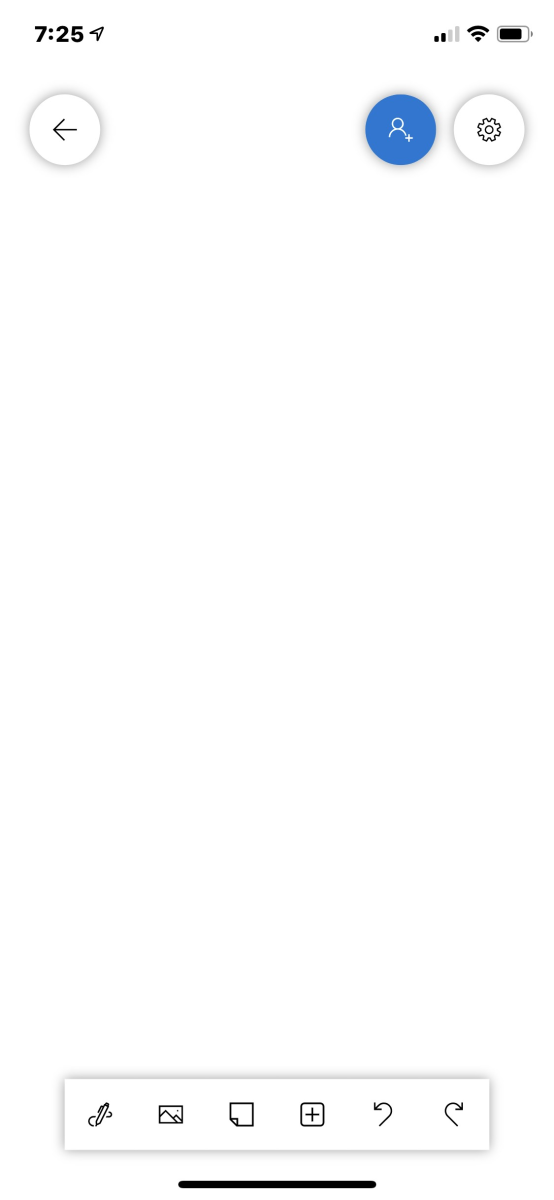
On the main screen of the app, you can see the blue icon with the people and the plus sign. This is the button that will allow you to send invitation to a person. There are two ways to send an invite to a person.
-
- The first method is to invite a person from the ALTA organization.
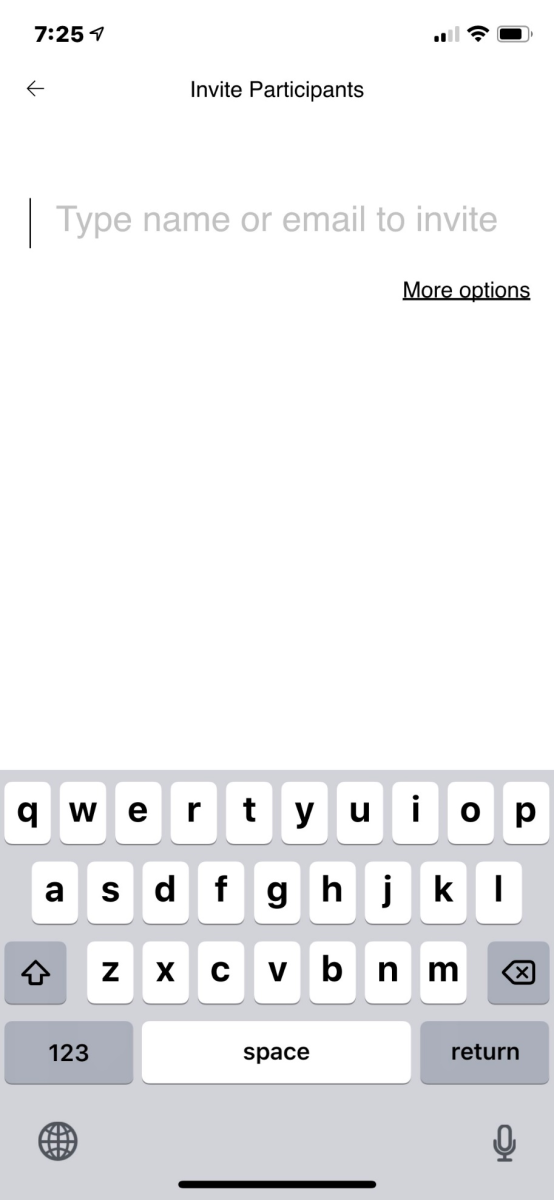
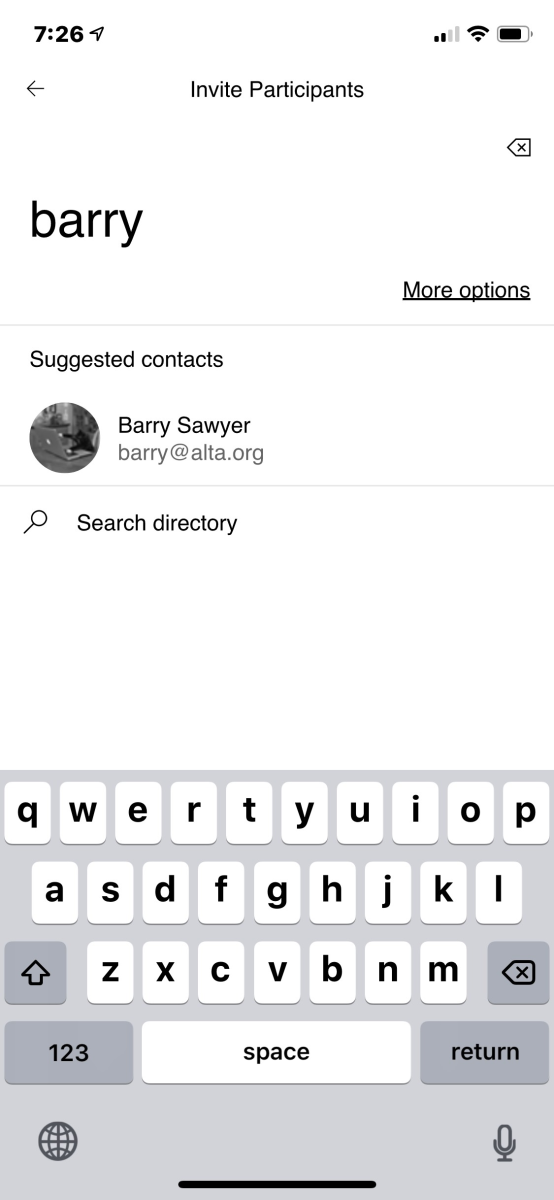
- Tap on the people icon and type in the name of the person that you want to invite. The person will automatically populate under the suggested contacts, and you can click on that person in the suggested contacts to add he/she to the inviting list. Once you are done adding people to the list, you can click invite, and this action will send an email with the link to your whiteboard to these people that are on the list. (shown in the screenshot)
- Note: you can add multiple people at once.
- Tap on the people icon and type in the name of the person that you want to invite. The person will automatically populate under the suggested contacts, and you can click on that person in the suggested contacts to add he/she to the inviting list. Once you are done adding people to the list, you can click invite, and this action will send an email with the link to your whiteboard to these people that are on the list. (shown in the screenshot)
- The first method is to invite a person from the ALTA organization.
-
- The second method is to invite a person from outside of ALTA.
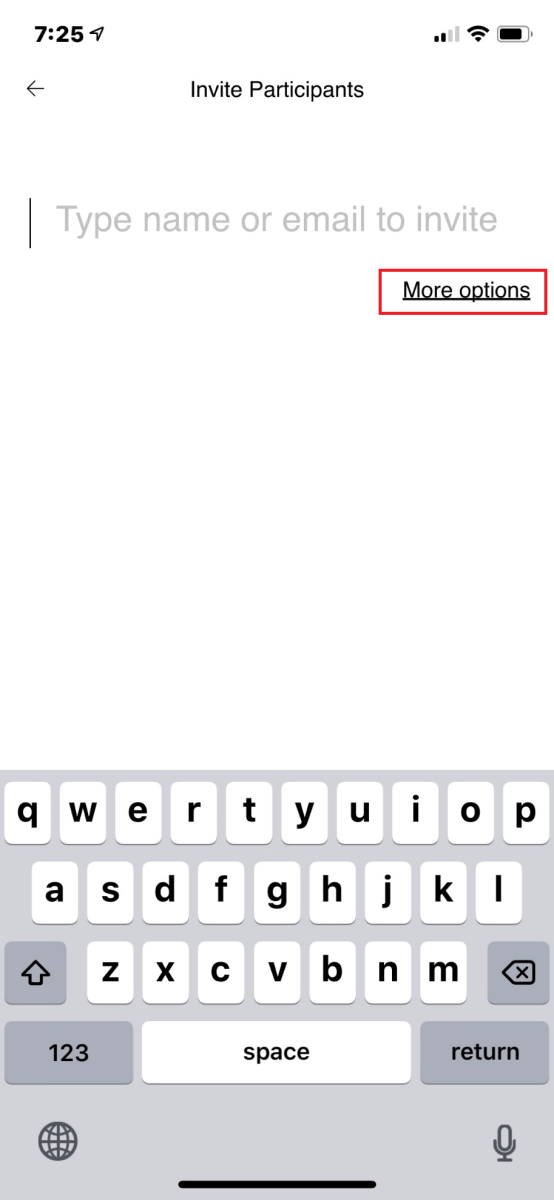
- Click the red icon and choose the "more options". This will take you to the next screen that look like the second screenshot.
- The second method is to invite a person from outside of ALTA.
-
-
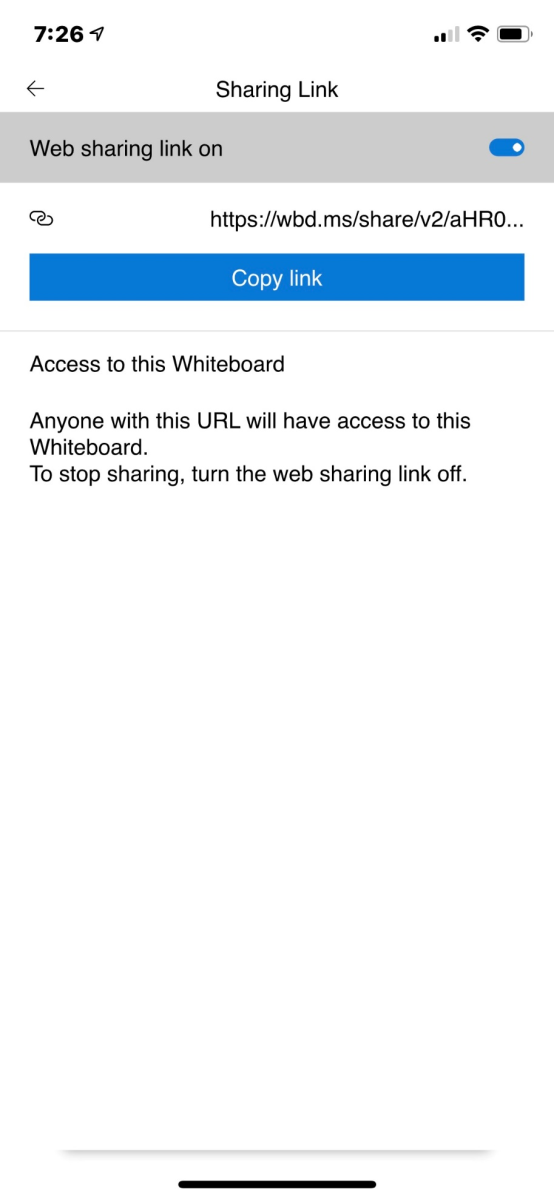
- The option "Web sharing link off" will be off, and you will have to turn this option on. Once this option is on, a URL will be displayed along with the "Copy link" button. You will need to copy the link and paste it to an email and send the email to the desire person that you want to send to.
-
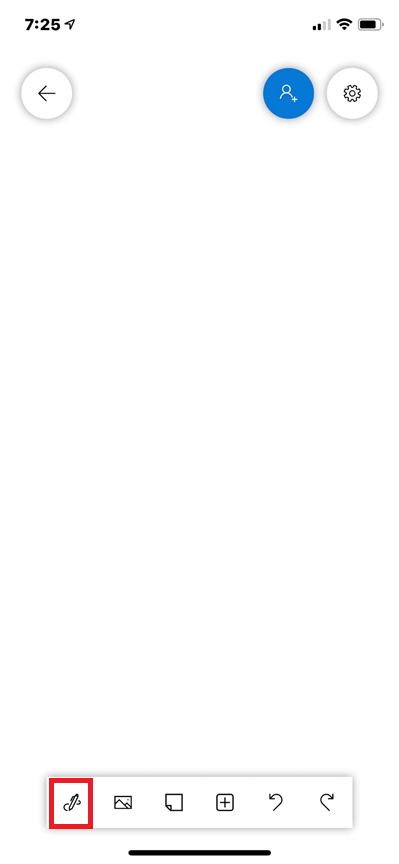
Drawing Tools
To switch to active pen, click on the Settings icon and activate the Active pen option.
The difference between passive and active pen is that active pen will allow you to move the artboard with your mouse and draw with your pen simultaneously.
The tools do exactly what you would expect: from left to right, you're presented with a series of differently colored markers. There are currently no default methods to resize the tools or change their colors.
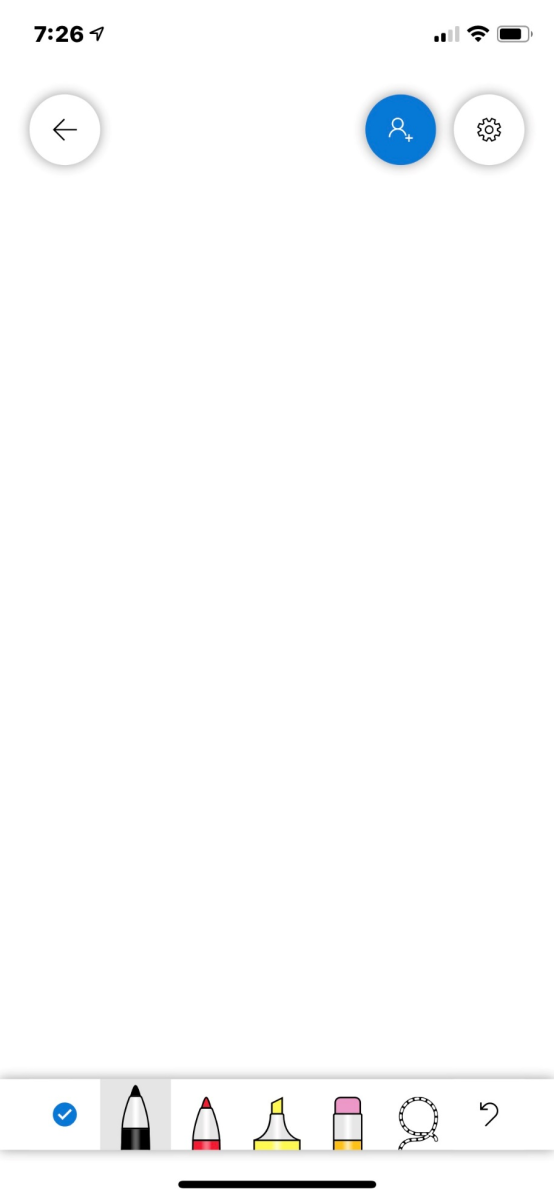
Note: The iOS version does not come with a ruler. This is another difference between the Windows and Mobile version.
Image Placement
Select the Image option to place an image from your local files into the Whiteboard. The file will appear as a sleek, movable image.
Click on the image to view your options. Rescale and rotate your image by clicking and dragging the small white circle at the edge of your image.
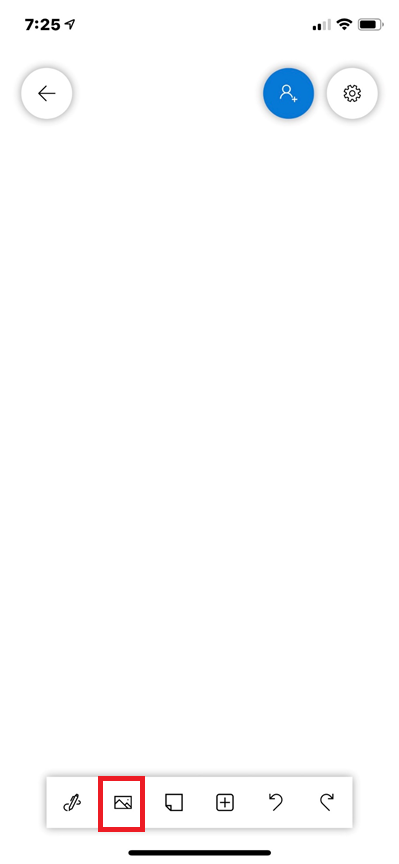
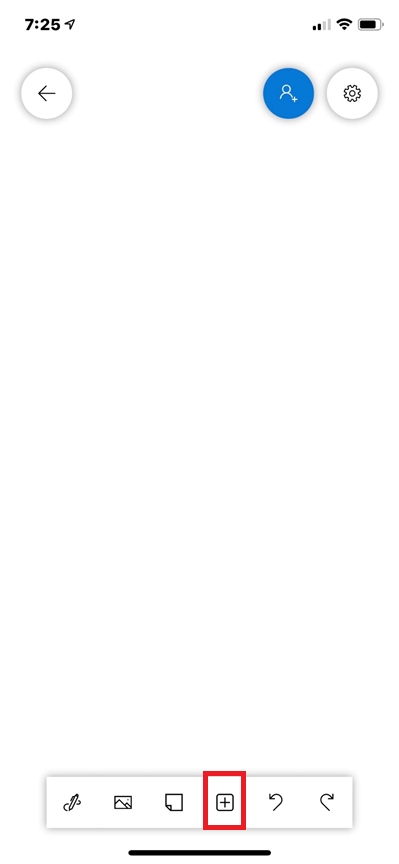
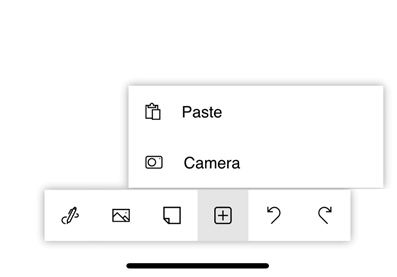
You can take your own photo by tapping on the + button and select the Camera option.
Text and Note-Taking
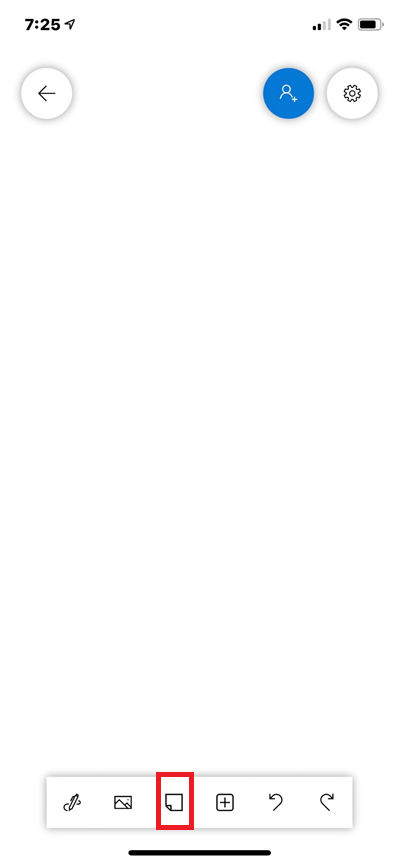
Click on the paper icon to select Text note. A sticky note will appear. Orient your note as you would an image and begin typing.
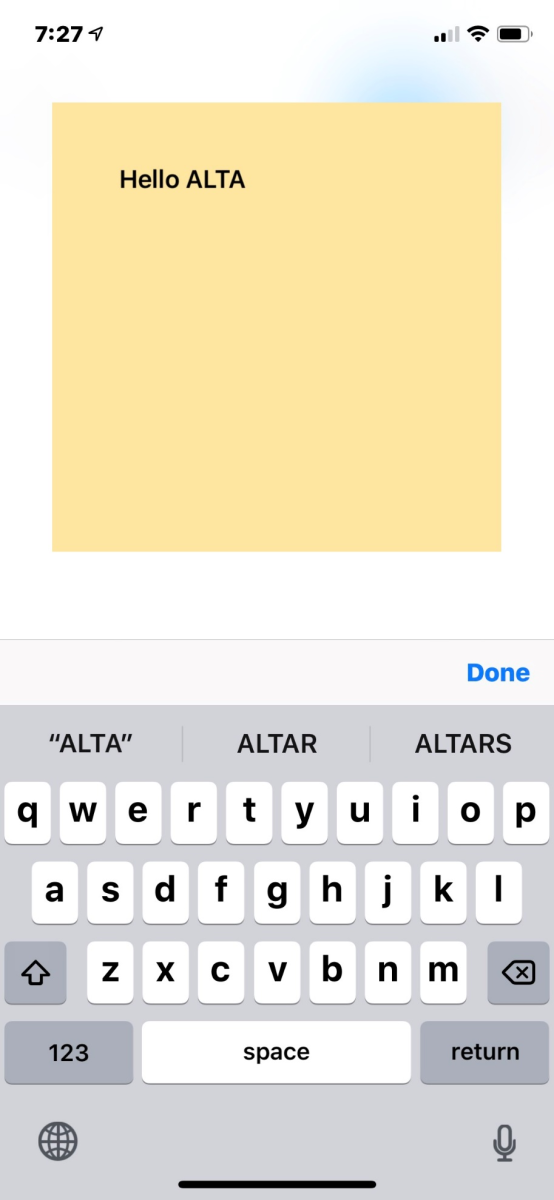
You can also change the color of the note while typing by tapping on the palette icon on the top of the note and selecting your color.
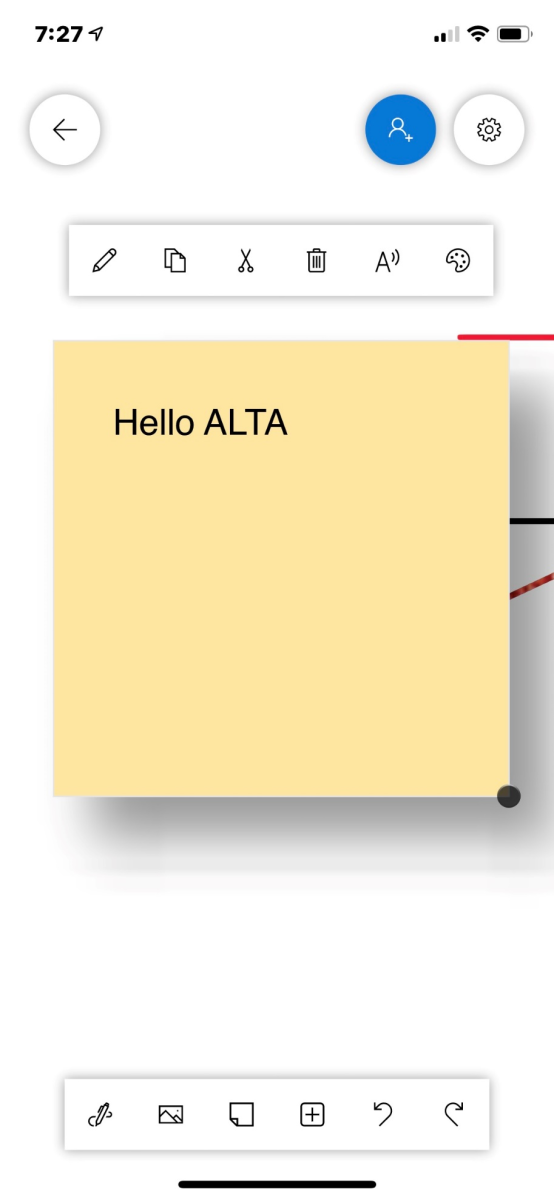
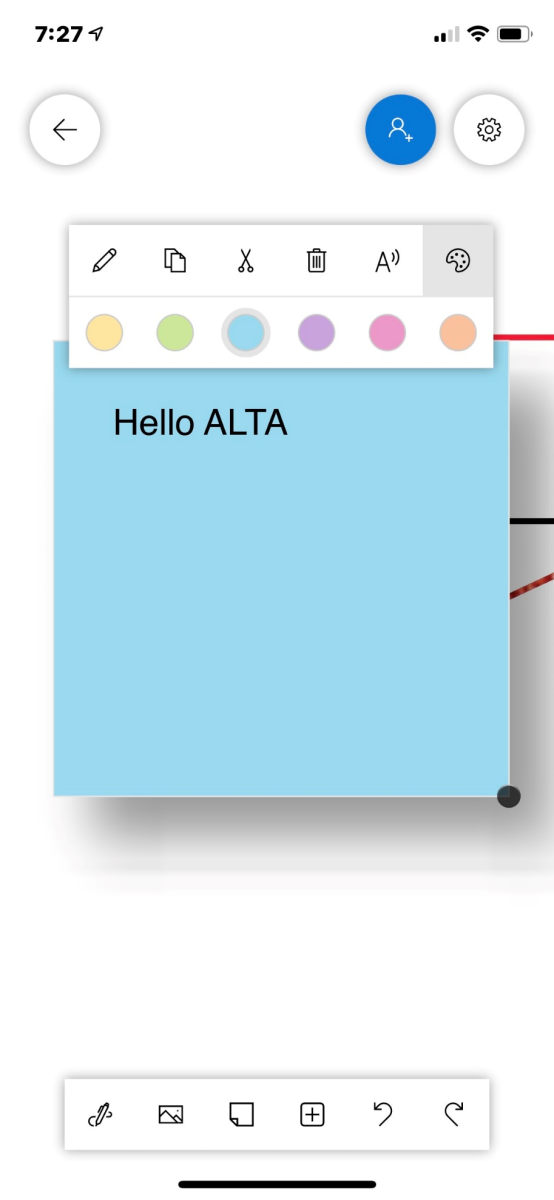
While you can't change the font weight and family, the text will adjust in size when you resize the note.