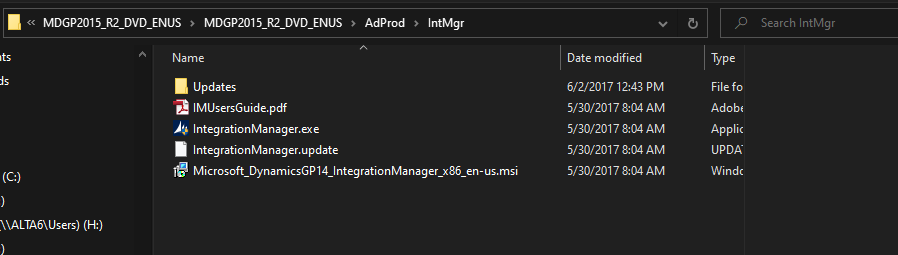
-
The User Account Control will prompt you with a question asking if you want to allow the application to make changes. Select Yes.
-
Accept the terms and conditions and continue to click next through the application wizard.
-
Once the installation is complete, in the search bar located in the bottom left corner, paste this path.
C:\Program Files (x86)\Microsoft Dynamics\Integration Manager 14\Samples\IntegrationManagerSamples.IMD
- Click open file location.
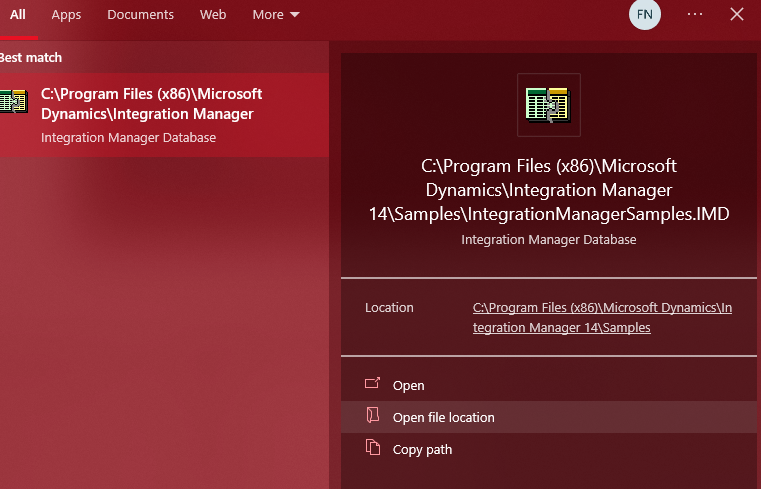
- Find the file named "Integration Manage Samples".
-
When the application opens, in the upper left corner click the dropdown menu called "Microsoft Dynamics GPV".
-
In the dropdown menu find Tools > Integrate > Integration Manager. This will launch the Integration Manager.
-
In the toolbar, located at the top of the Integration Manager, hover the cursor over the Tools tab and click Options.
-
Once the Options… dialog box launches, copy and paste this path in the textbook below Default Integration Manager Database.
_Hlk105491093
C:\Program Files (x86)\Microsoft Dynamics\Integration Manager 14\Samples\IntegrationManagerSamples.IMD
-
Click Apply and OK
-
Next, paste this path into the search bar located in the bottom corner.
C:\Program Files (x86)\Microsoft Dynamics\Integration Manager 14\Samples\IntegrationManagerSamples.IMD
-
Click open file location.
-
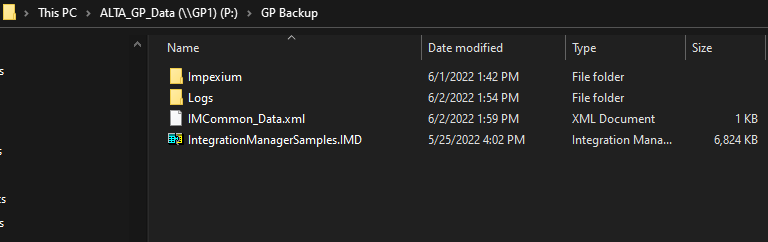
In a new File Explorer, copy and paste P:\GP Backup in the address bar. Find the file named "Integration Manager Samples", copy it.
-
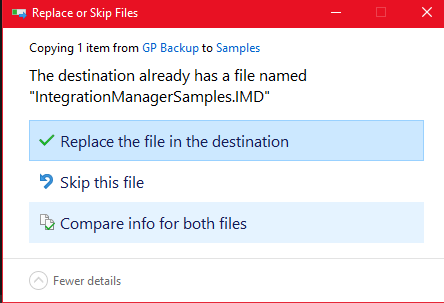
Go back to the File Explorer with this path "C:\Program Files (x86)\Microsoft Dynamics…" and paste the "Integration Manager Samples" file here.
-
When prompted to click Replace the file in this destination.
Once all the previous steps have been completed. Have the associate do a test on the integration function by having them log into their account to ensure the customized integration manager has been successfully installed and set up.