
Microsoft Team's Whiteboard feature is a very intuitive way of presenting information to colleagues. Using a digital pen and sketchpad, you can explain concepts of all types in an easy-to-understand format.
What Is the Microsoft Team's Whiteboard?
Similar to the Microsoft Whiteboard app, Microsoft Team's Whiteboard feature allows users to sketch and brainstorm ideas onto a freeform digital canvas during conferences. It uses a standard classroom whiteboard format, stored in the cloud and accessible by anyone you invite to a Microsoft Teams meeting.
Using Whiteboard in a Group Meeting:
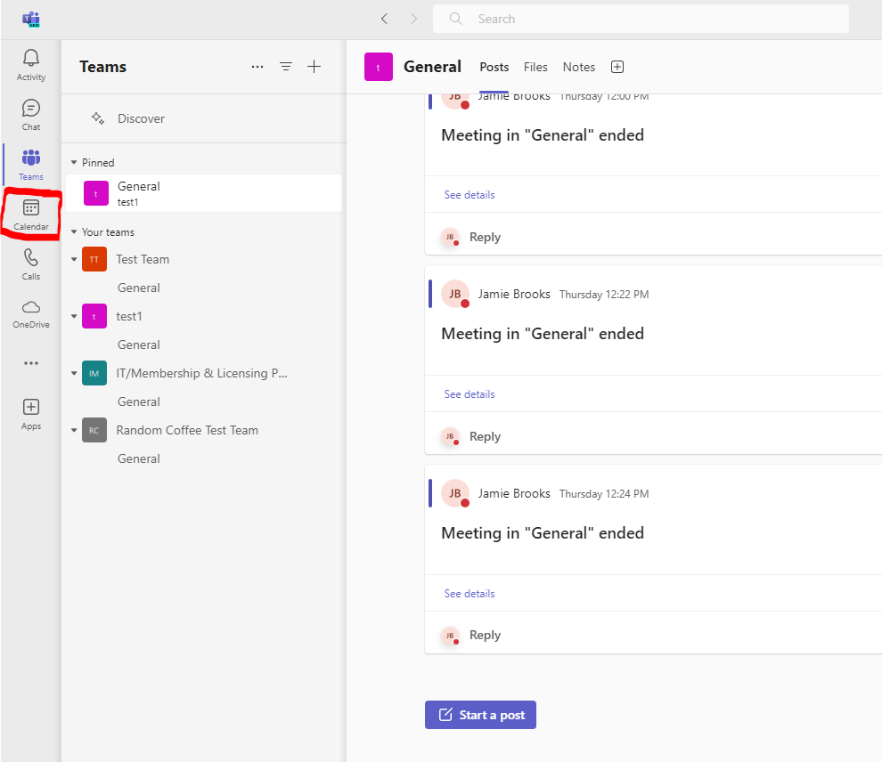
To access Microsoft Team's whiteboard, open the app, navigate to the left-side navigation menu, and click on the "Calendar" icon.
From there, start a new meeting by clicking on the "+ New Meeting" button in the upper right corner. On the following page, enter all meeting details and click on "Save."
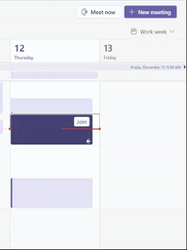
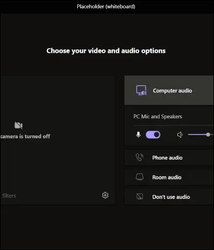
Once the meeting starts, you will be prompted to Join. Click on "Join," set your camera and computer/phone audio settings and click on "Join Now."
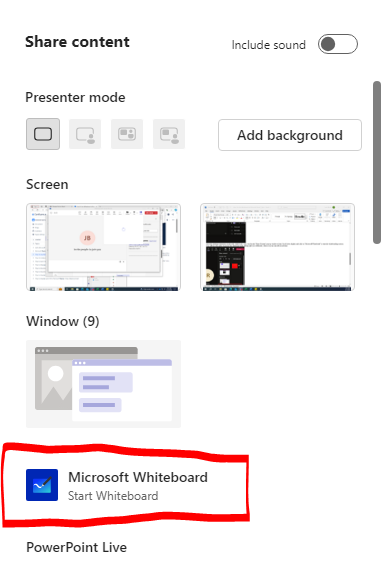
Once the meeting is launched, click on the "Share Tray" icon, wait for the "Share Content" pop-up window to load. Scroll down slightly and click on "Microsoft Whiteboard" to start the whiteboarding session. You will have the option to present the whiteboard (sole editing rights) or collaborate, where everyone can edit in real-time.
Once the whiteboard app loads, you will be greeted with the whiteboard creation screen. From here, if you have any previously used whiteboards, you can select one of them to share. If there’s no whiteboards, then you need to press New Whiteboard.
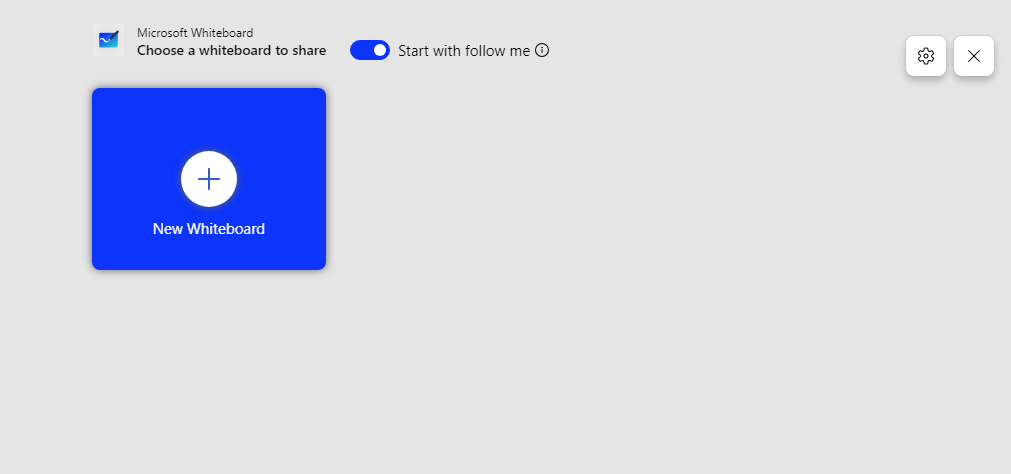
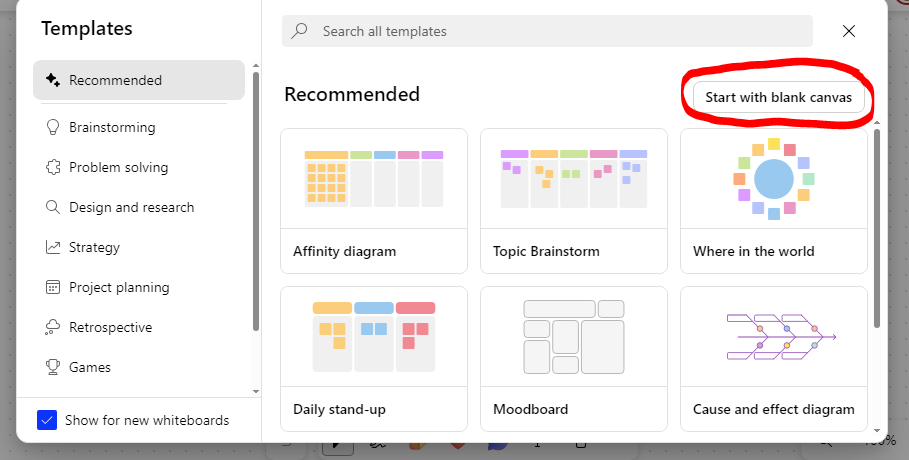
After selecting New Whiteboard, it gives you the option to use Microsoft created templates. You can choose any of them if you like, but for a standard whiteboard press the “Start with blank canvas” button.
You now have successfully shared a whiteboard to your meeting participants.
How Do I Draw on a Microsoft Teams Whiteboard?
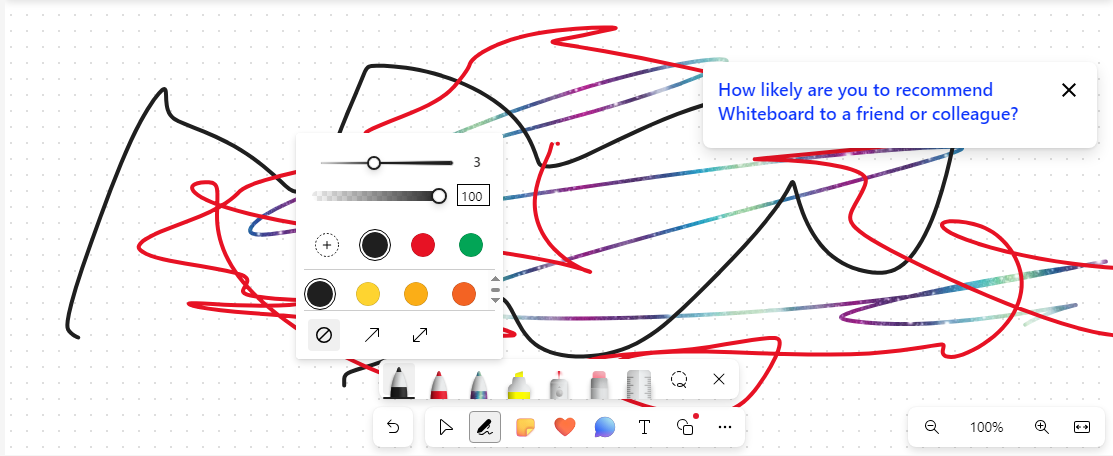
To start drawing on your whiteboard, click on the Pen icon on the Toolbar (or press Alt+W). Click on any of the writing utensils in the toolbar, press your cursor, and drag and drop anywhere on the screen to draw, sketch, or type out ideas. You also have typing based options like adding sticky notes, reactions, comments, and just regular text.
You can pan and zoom your whiteboard in, out, to the left, or to the right to maximize your drawing space and draw attention to key ideas.
How Do I Embed Files into The Whiteboard?
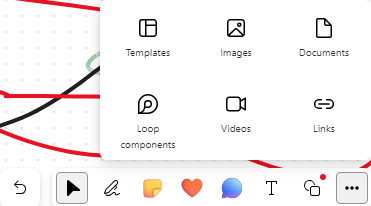
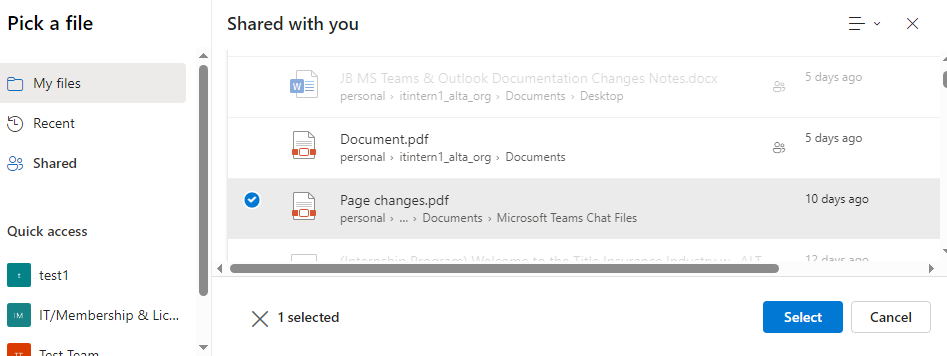
Microsoft Whiteboard also provides options on adding and displaying Images, Documents, Videos, and Links. You can do this by press the (…) button on the toolbar and selecting which item you want to display on the whiteboard.
In the Pick a file window, navigate to the file you want to display on the whiteboard. Use the Select button to confirm your choice.
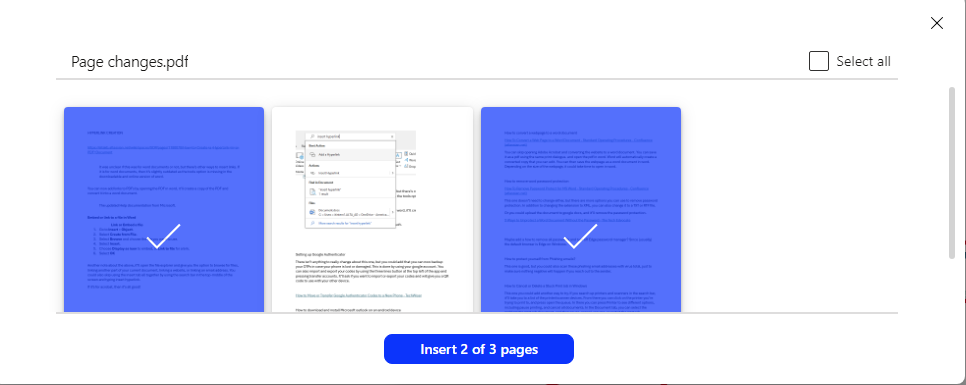
You are then provided with a view of the pages of the file you chose, you can select specific pages to show, or you can use the select all checkbox in the top right corner. Once you are happy with your choices, press the Insert button.
You now have shared the document to the whiteboard, and can draw, highlight, and more with the toolbar tools.