
ConnectWise Manage: How To Create A View
Click the View Button located on the right side of the screen.

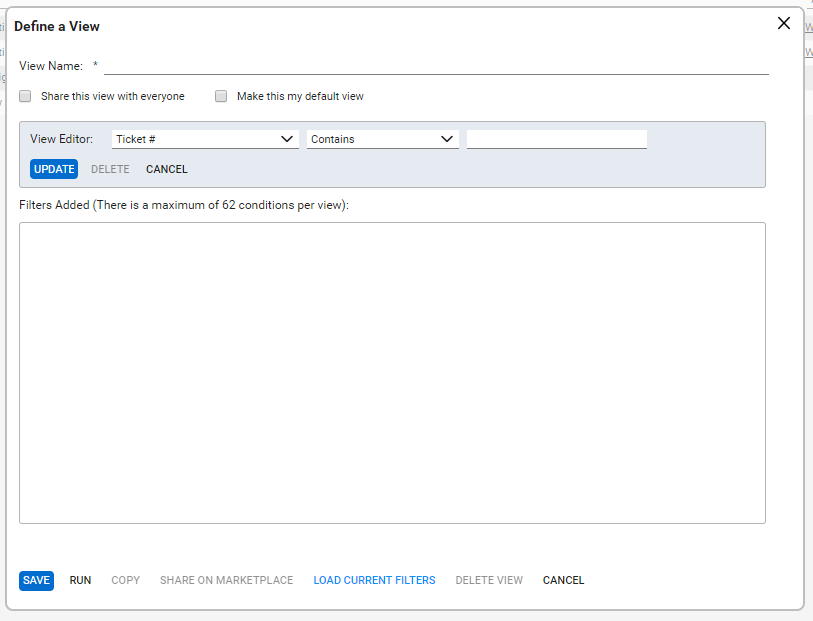
The flyout allows you to edit or create existing views
-
You are required to give the new view a name as denoted by the asterisk
-
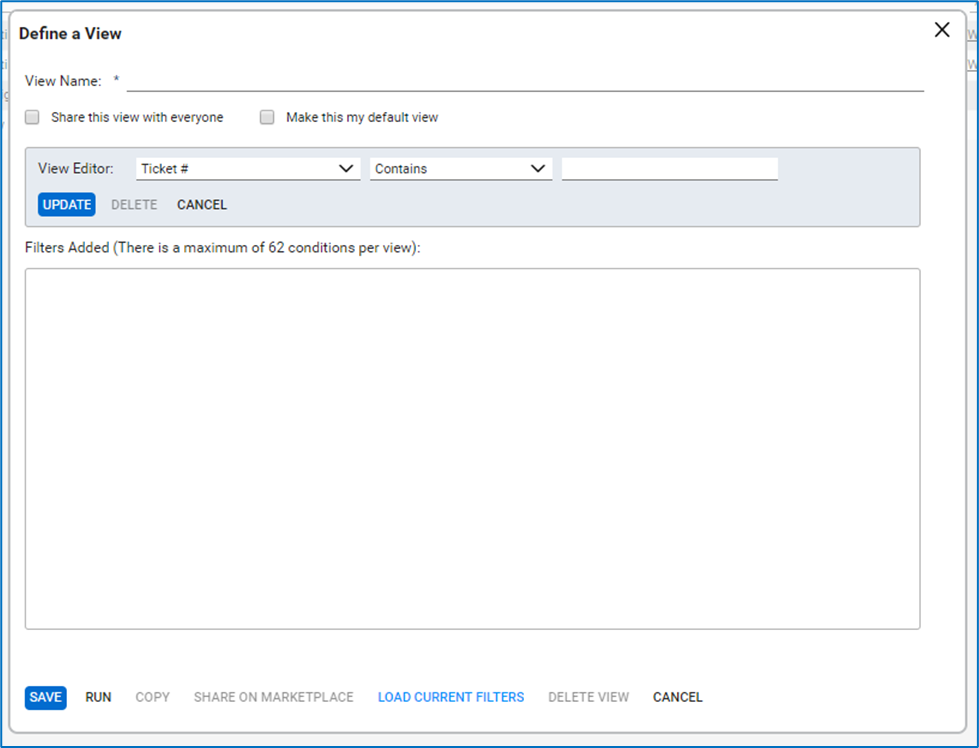
Below the view name field, you have the option to share this view with everyone in your organization and you can make the new view your default.
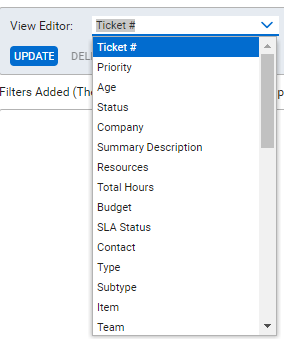
To create a new view, utilize the “View Editor” dropdowns. These dropdowns consist of all the filterable columns on the service board screen.
-
Once the column is selected in the first drop down
-
Select the operator in the second drop-down
-
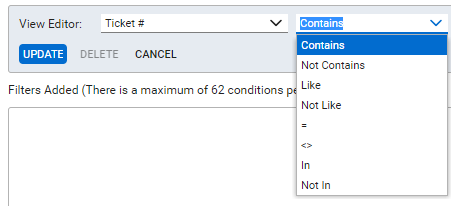
Then, select ‘Contains’ in the second drop-down.
-
Then, manually enter the name of the status in the text field.
-
The last field is a blank textbox you can manually enter the value based on your first drop down in the view editor section.
-

Example: To filter the service board by a given status, you can choose a status for the first drop-down.
-
-
Once you have the logic created in the view editor section, click on the Update Button.
-

The Update Button will display your logic in the filters Add Box.

Once the view is set click to save the new view.