Overview
This document describes the Tickets screen of the Customer Portal and is intended for Customer Portal users. The Tickets screen is where you create, view, and update service tickets. To view the Tickets screen, click the Tickets icon from the left navigation bar.
Tickets List View
The tickets list view displays all open and closed tickets. Use the search box to search for tickets by ticket number, contact, or summary. Filter the list to view open tickets, closed tickets, all tickets, or your own tickets. Click on a ticket to view and add ticket notes, add attachments, and update the ticket status.

Filter the Tickets List View
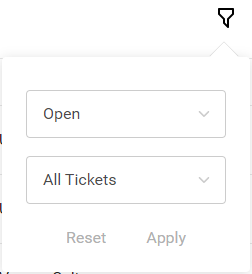
By default, the Tickets list view displays both open and closed tickets. You can filter the list to view either all tickets or open or closed tickets. Users with the Full Admin and Ticket Manager roles also have the option to filter for all tickets or their own tickets.
To filter the list view, click the Filter

icon. Select a filter, then click Apply. To clear any applied filters, click Reset.
View Ticket Details
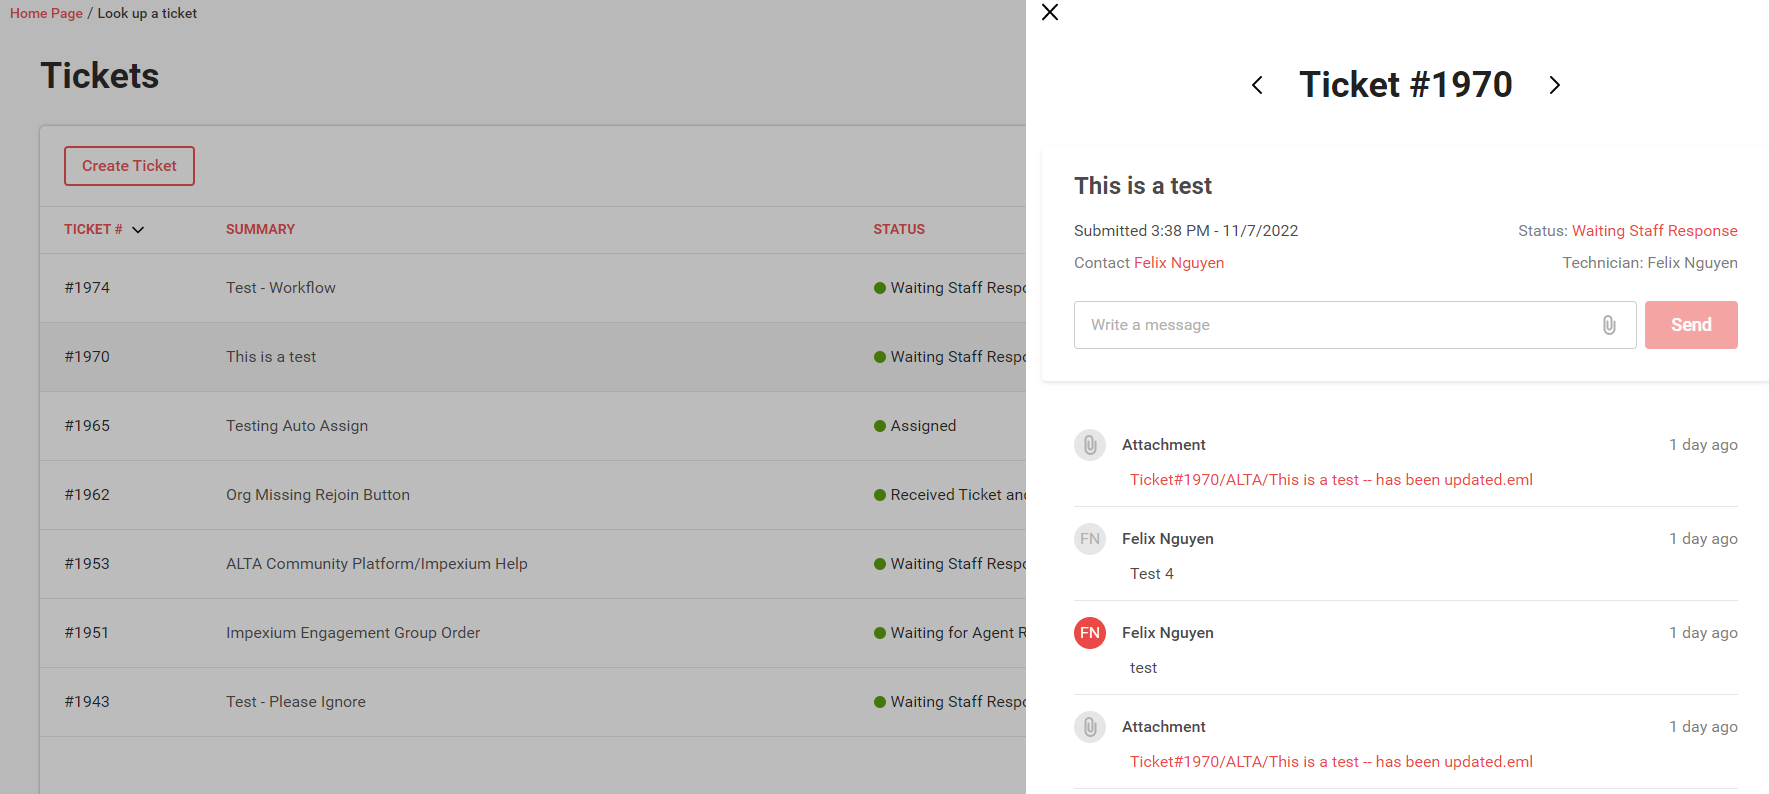
Click on a ticket to view and add ticket notes, add attachments, update the ticket status, and update the ticket type. Click the left and right-facing arrows on either side of the ticket number to navigate through the tickets.
The Manage parameters marked to be displayed in the Customer Portal are visible from the Ticket Details section as well. Parameters can be edited or just viewed based on how they have been configured in the Admin Portal.
The below Manage parameters are editable from the Ticket Details section:
-
Type
-
Sub-type
-
Item
-
Priority
Once a customer selects the value and submits the ticket, the selected value is updated in Manage for the corresponding parameter, which displays in the Ticket Details.
Submit a Ticket
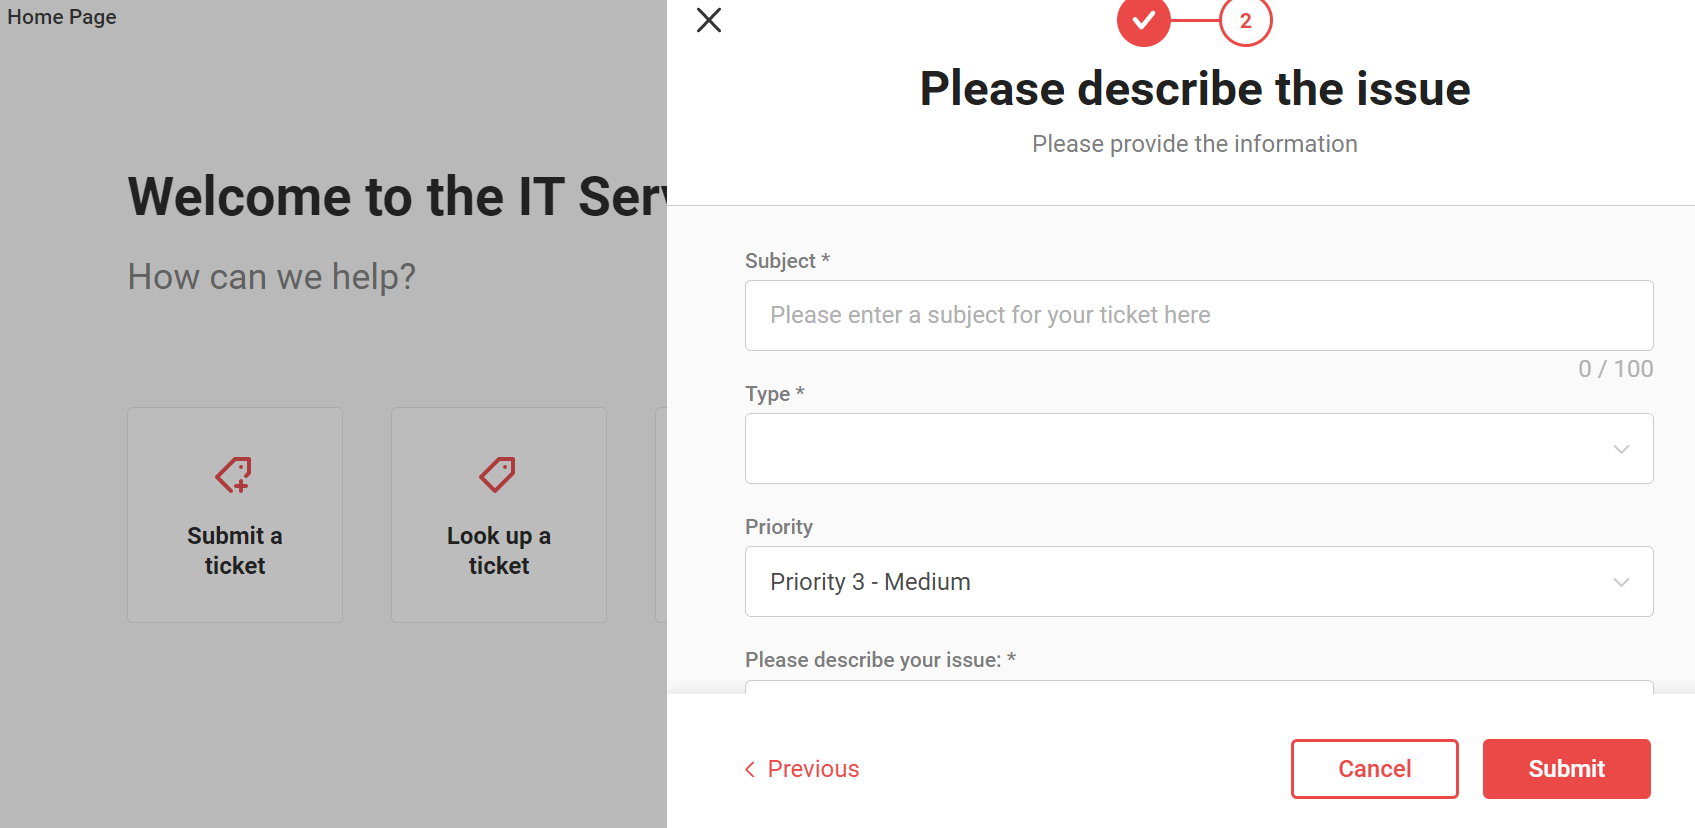
To submit a ticket from the Customer Portal:
Select Tickets from the left navigation. Alternatively, click Submit a ticket from the Home screen.

Click Create Ticket.

Select a category and the service its contains.
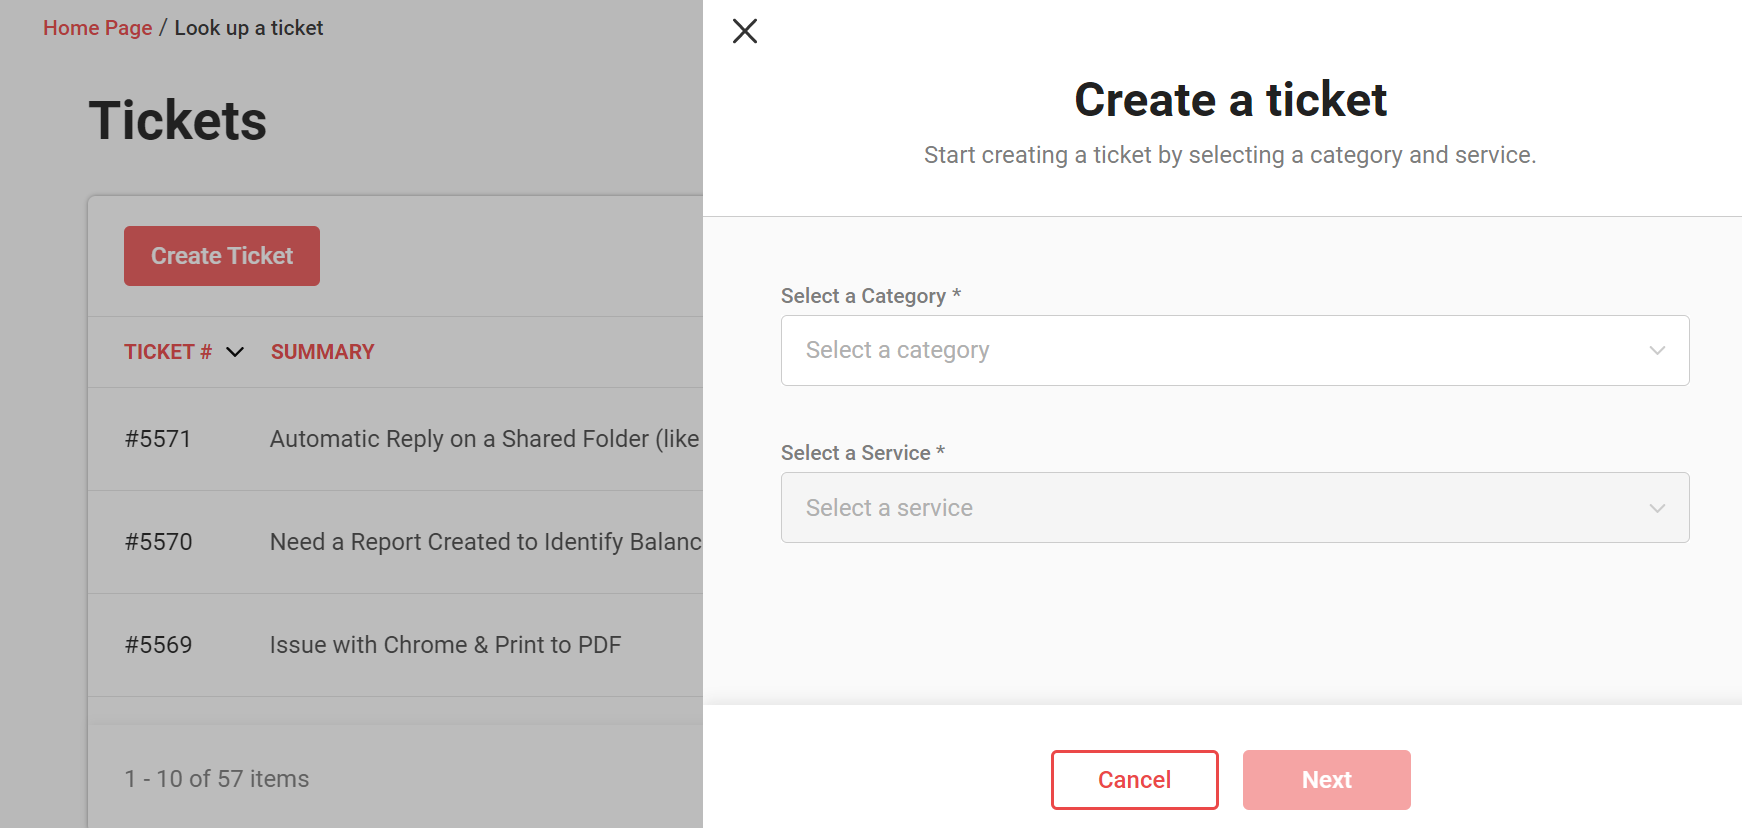
Click Next.
Complete the ticket form and click Submit.
Update a Ticket
The Customer Portal allows users to quickly update a ticket's status and add notes or attachments to a ticket. Please note that text must be entered to update a ticket.
Change a Ticket Status
To change the ticket status:
-
From the Tickets screen, click on the desired ticket.
-
Click the status.
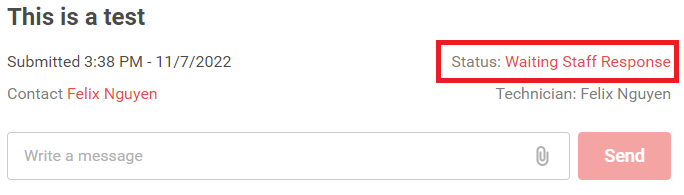
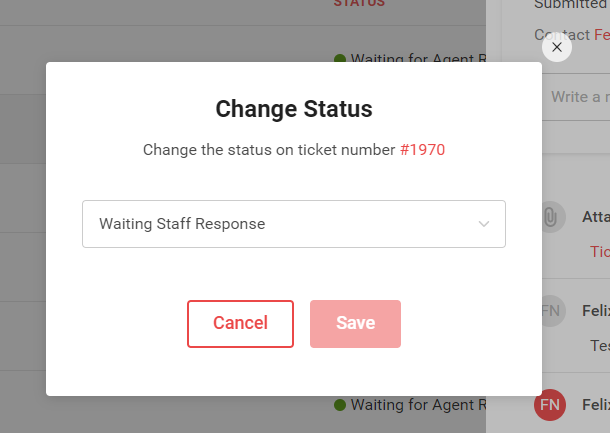
Select the new status from the drop-down, then click Save.
Note for portal admins: Only statuses with the Customers can use this status on the Customer
Portal checkbox selected in Manage appear in the drop-down. Use the service board setup tables in Manage to select which statuses users can choose.
Change a Ticket Type
To change the ticket type:
Note: If the ticket type displays in the Ticket Details, you can update it there. Click on the existing type to update it to a different type.
-
From the Tickets screen, click on the desired ticket.
-
Click the type.

After selecting the new type from the drop-down, select the Subtype and Item.
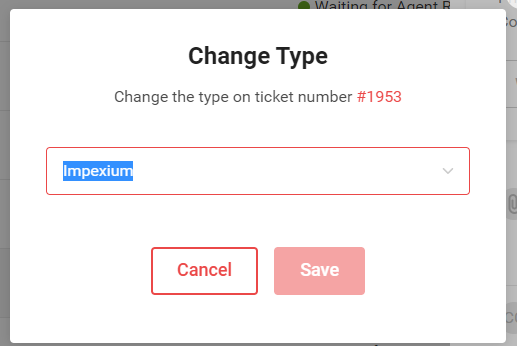
Click Save.
Add Notes to a Ticket
To add a note to a ticket:
-
From the Tickets screen, click on the desired ticket.
-
Type a message into the message box.
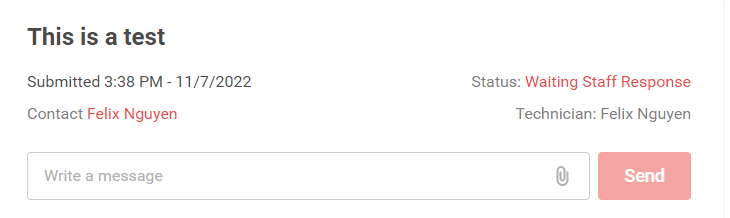
Click Send.
Attach a File to a Ticket
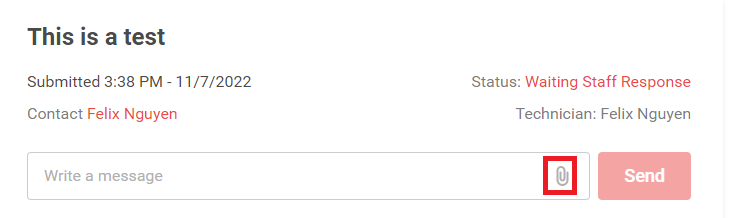
To attach a file to your message, click the paperclip icon in the message box. All file types are supported. There is no file size limit for On-Premises partners; you can attach any size file, provided you have enough free space on the disk. Cloud partners have no file size limit, but there is a 30 second time limit for uploads. Please note that images attached to tickets created in the Customer Portal appear as attachments to the ticket in Manage. The Customer Portal cannot format images inline with text.